Rotted Window Sill Repair
Need authentic rotten window sill repair near you? Look no further. Enjoy our trusted, economical services. Get your window fix today!
Rotten window sill
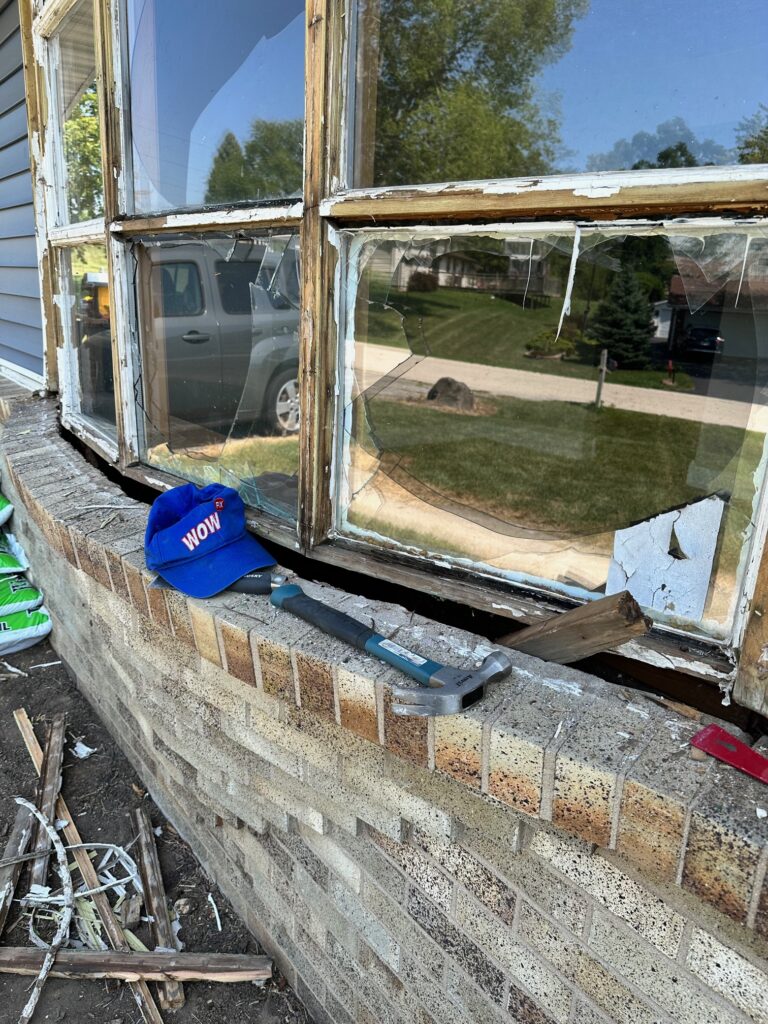
Living in an older home can come with its fair share of maintenance issues. One common problem in aging houses is dealing with rotted wood window sills. If ignored, this issue will only get worse. Water damage will continue to spread, and you may end up needing full window sill replacement. The good news is rotted window sill repair is possible if caught early. Read on to learn all about fixing rotten window sills and find a professional near you for rotten window sill restoration.
Signs You Need Rotten Window Sill Repair
How can you tell if your window sills are rotted and in need of repair? Here are some telltale signs of decayed window sills:
- Soft, punky, or crumbling wood
- Flaking paint
- Wood that appears blackened or discolored
- Sagging or sloped sill
- Windows difficult to open and close
- Visible moisture damage or rot near sill
- Peeling caulk around sill perimeter
If you notice any of these issues, it likely means water has infiltrated the wood, causing rot repair to be necessary. Addressing rotted exterior window sills right away will save you bigger headaches down the road.

Dangers of Ignoring Rotten Window Sills
Why is it so crucial to take care of rotted wood window sill issues immediately? Restoring rotten window sills is about more than just aesthetics. Left unchecked, ongoing water damage from a leaky sill can lead to:
- Rot spreading to surrounding structural wood
- Mold growth in damp wood
- Attracting pests like termites or carpenter ants
- Further window leakage
- Degraded insulation
- Compromised air sealing
In severe cases, the entire window or supporting wall structure may need replacing if rot is allowed to worsen. Act quickly at the first signs of a problem to avoid replacing rotten window sills and further construction work.
Causes of Rotten Window Sills
Before covering DIY rotten window sill repair, it helps to understand what causes this issue in the first place. The most common culprits include:

Age and Moisture
Older wood window sills are simply more prone to natural deterioration over time. As wood ages, it loses structural integrity. Exposure to outdoor elements speeds up window sill rot.
Improper Caulking
If the caulk seal perimeter fails, water can seep into the sill undetected. Replacing decayed window sills is often necessary due to inadequate caulking.
Condensation Buildup
Lack of proper ventilation can allow condensation to form and saturate the wooden window sill. Frequent condensation accelerates rotting window sills.
Flashing Issues
Improper flashing above and around the window fails to divert water away from the sill, allowing moisture damage over time.
Wood Type
Some types of wood are more prone to rot including pine, cedar, and fir. Hardwoods like oak better resist water damage.
By repairing rotted wood window sills promptly, you can prevent further damage from these common causes.
Comprehensive Guide to Window Frame Repair Costs
Introduction
Understanding the costs involved in window frame repair is crucial for homeowners looking to maintain their windows’ integrity and functionality. The price of repairs can vary widely depending on the frame material and the type of repair required.
Window Frame Repair Cost
The average cost to repair a window frame ranges from $250 to $500 per unit. However, expenses can vary greatly depending on the material and the extent of damage. For example, a typical resealing of a mid-range aluminum frame might cost around $300, while minor hardware repairs could be as low as $75. On the higher end, repairing or replacing composite window frames can cost up to $1,000.
Cost by Material
- Wood Frames: Repairing wooden window frames usually costs between $175 and $300. Wood is prone to rot and sun damage, making it one of the more frequently repaired materials.
- Aluminum Frames: Aluminum frame repairs, often involving re-glazing, can range from $250 to $500.
- Vinyl and Fiberglass Frames: These materials are susceptible to cracking due to temperature changes and typically cost between $300 and $600 to repair.
- Composite Frames: Although durable, composite frames are more expensive to repair, with costs ranging from $400 to $650.

Additional Considerations
When planning for window frame repairs, consider factors like the damage’s extent, the frame’s material, and the urgency of the repair. Repairs that require ladder or roof access might incur higher costs. While some minor repairs can be DIY projects, more significant issues should be handled by professionals.
Cost by Type of Repair
The nature of the window repair significantly influences the cost:
- Hardware Repairs: Simple fixes, like hardware replacements, may cost between $75 and $200.
- Hole or Fin Repairs: Repairing holes or fins typically ranges from $100 to $150.
- Extensive Repairs: More comprehensive repairs, such as fixing rotted sashes or entire frames, can vary widely in cost, from $100 to as much as $700.
Hiring a Contractor for Rot Repair
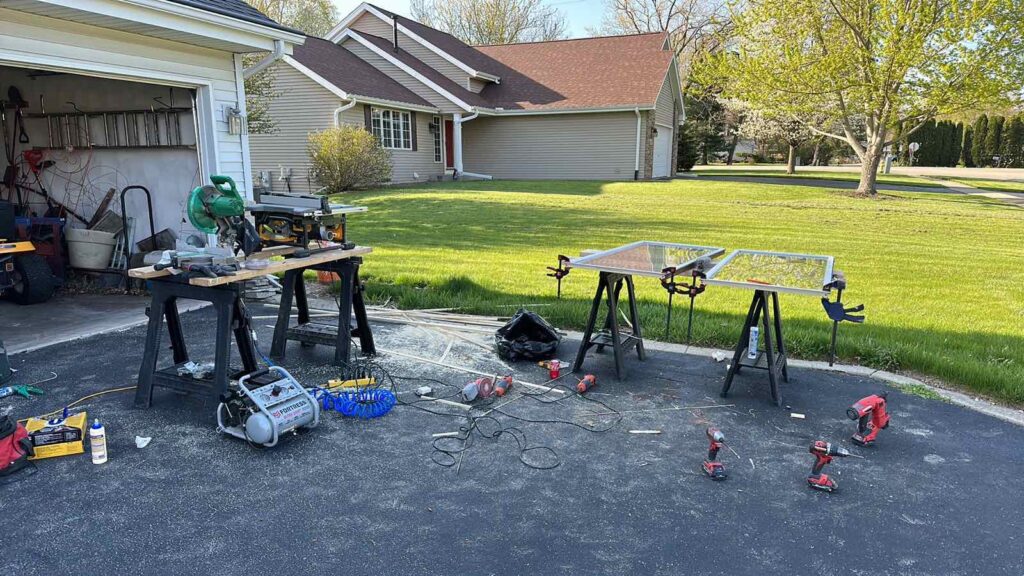
For homeowners uncomfortable doing rotted wood window sill fixes themselves, hiring a professional is wise. There are a few benefits to having a knowledgeable window sill replacement contractor do the rotten sill restoration work:
- Accuracy: Contractors have specialized skills and tools to thoroughly diagnose and repair rot damage.
- Efficiency: They can complete the job much faster with the right equipment.
- Materials: Contractors have access to higher quality filler, epoxy, lumber, and hardware.
- Code compliance: Licensed contractors ensure all repairs meet local building codes.
- Warranties: Professional rotted window sill replacement often comes with guarantees for workmanship errors.
Though DIY rotten window sill repair costs less, the project can turn complex if rot is extensive. The potential hassles and risks make hiring a pro worthwhile for many homeowners.

How to Repair a Rotted Windowsill DIY
Remove the Side Casings
Before tackling the rotted windowsill, start by carefully removing the side casings. This step is crucial to access the sill for removal and replacement. If you find that the casings themselves are also affected by rot, it’s best to replace them. Use a utility knife to cut through the caulk bead that seals the casing to the siding, and then use a flat pry bar to gently remove each casing. Keep the removed casings as they can serve as templates for cutting new ones. Also, ensure that the window’s flashing behind the casing is intact and correctly installed, as this helps prevent future water damage.
Saw Off the Old Sill
To remove the rotted sill, use a circular saw to make a straight, plumb cut along its length, ensuring the cut is flush with the window sheathing. For areas where the circular saw can’t reach, such as the ends of the sill, switch to a multitool equipped with an oscillating saw blade. After cutting, use a hand plane to smooth the cut edges, preparing the area for the new sill installation.
Apply the Adhesive
Before installing the new sill, address any remaining rot on the old sill with epoxy. This step is crucial to prevent further deterioration. Once the epoxy is set, trim the new sill to ensure a snug fit against both the siding and the old wood. Drill pilot holes along the front and back edges of the new sill at regular intervals. Then, apply a waterproof, marine-grade adhesive along the old sill, which will provide a strong bond for the new sill.
Attach the New Sill
Carefully position the new sill onto the adhesive layer, pressing it down firmly. To secure the sill in place, use long deck screws, driving them through the new sill and into the underlying wood. Ensure the screw heads are slightly below the surface of the sill for a clean finish. Wipe away any excess adhesive that squeezes out during this process, and fill any gaps between the new and old sill with additional adhesive.
Hide the Screwheads
Once the new sill is attached, cover each exposed screw head with a white, two-part acrylic adhesive. Apply a slight overfill to each screw head, and allow the adhesive to harden completely. Once set, sand down the adhesive to make it flush with the surface of the sill, creating a smooth, finished appearance.
Install the Side Casing
The final step is to reinstall the side casing. First, apply a bead of caulk along the ends of the siding where the new casing will be attached. Use cellular PVC trim boards for the new casing, as they offer durability and resistance to rot. Nail the casing in place using stainless-steel nails, ensuring each nail head is slightly countersunk. Cover the nail heads with the same two-part adhesive used earlier, and once hardened, sand them flush for a neat, professional look.
Long-Term Prevention of Window Sill Rot
While repairs can fix your rotten window sills now, you’ll also want to take steps to prevent future moisture damage and deterioration down the road:
- Caulk perimeter joints annually
- Scrape and repaint exterior wood every 2-3 years
- Ensure proper roof drainage to divert water away
- Add drip edge above windows
- Install vinyl-wrapped exterior sill covers
- Increase air circulation around windows
- Reduce indoor humidity levels
- Improve attic ventilation
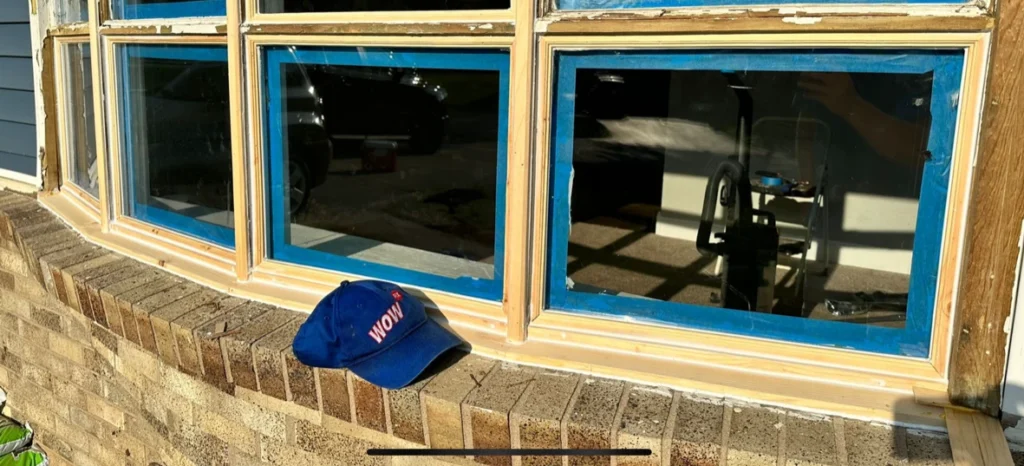
With vigilant maintenance and moisture control, your restored wooden window sills will stay protected from rot. Contact WOWFIX today if your windows need rotten sill repair or replacement windows. Our technicians can inspect your home and restore your windows quickly and skillfully.
Related Services:
Quuestions and answers
Window sill rot is usually the result of prolonged exposure to moisture coupled with a lack of adequate maintenance. Consistently sealing and repainting your window sills, paired with efficient water drainage, can significantly reduce the risk of rot setting in.
Not necessarily. Often, it's possible to address the problem effectively with a window sill repair. At WowFix, our approach is to first conduct a comprehensive inspection to understand the extent of the damage, post which we suggest the most efficient and affordable window repair solution tailored to your specific situation.
Preventing window sill rot largely hinges on regular maintenance and ensuring high-quality installation. By ensuring that your windows are installed correctly to prevent water seepage, and by addressing any leaks promptly, you can significantly reduce the likelihood of window sill rot. Regular maintenance, such as painting or sealing, also goes a long way in preserving the health.
Replacing a rotted window sill may seem like a daunting task, but with the right approach and a little know-how, you can tackle it successfully. Here's a step-by-step guide to help you through the process:
Safety First: Before you begin, ensure your safety by wearing protective gear, such as gloves and safety goggles. If you're working on an elevated window, use a sturdy ladder and have someone else around to assist if needed.
Assess the Damage: Examine the rotted windowsill carefully to determine the extent of the damage. Identify any surrounding areas that might also be affected.
Remove the Damaged Sill: Using a hammer and chisel, carefully remove the rotted wood from the windowsill. Be cautious not to damage the surrounding frame or wall.
Measure and Cut: Take precise measurements of the space where the old sill was. Use these measurements to cut a new piece of wood that matches the size and shape of the original sill.
Treat the Wood: Before installation, treat the new wood with a wood preservative to protect it from future rot and decay.
Install the New Sill: Apply a layer of construction adhesive to the bottom of the new sill and carefully fit it into place. Use a level to ensure it is perfectly horizontal.
Secure the Sill: Use wood screws to secure the new sill in place. Make sure to drive the screws into the framing underneath for added stability.
Fill and Sand: If necessary, use wood filler to fill any gaps or imperfections. Once dry, sand the sill to create a smooth and even surface.
Prime and Paint: Apply a coat of primer to the new wood to seal it and prevent moisture penetration. Finish by painting the sill to match the rest of the window frame.
Final Checks: Inspect the newly replaced sill for any unevenness or loose areas. Make any necessary adjustments or additional painting as needed.
Remember, replacing a rotted window sill requires precision and attention to detail. If you feel unsure or lack the necessary tools, it's best to consult a professional window repair service like WOWFIX. Their experienced team can handle the job with expertise, ensuring your windowsill is restored to perfection. Good luck with your project! 🪟💪
Never simply paint over rotted wood, as it will continue deteriorating underneath. Proper rotten window sill restoration requires removing rot first.
Two-part epoxy fillers formulated for exterior wood repairs generally work best to patch and rebuild rotted window sills.
Call us today to schedule an appointment
Don’t let broken, rotted exterior window sills tarnish your home’s curb appeal and damage the window structure. WOWFIX‘s experienced technicians can quickly diagnose rotten sill issues and recommend affordable solutions to restore your windows properly. We handle the entire project from inspecting and repairing rotted bottom window sills to sealing and protection. Contact WOWFIX today for a quote on expert window sill rot repair services and get your windows looking their best again!

or Request Call Back
If you would like to request a call back for window or door repair service, please provide the following information:

